DIY Modern Closets with Barn Doors

As our girls are growing, so is the accumulation of stuff from toys to books and school supplies. My solution, build closets with barn doors in their bedroom! Since we needed storage and I want it in style, I thought this idea would be a great combination.
Actually, it’s not just the girls’ bedroom that needed storage and update but the entire house! It’s amazing to see how much stuff we have accumulated over the last 4 years in this house with 3 kids now. We are truly blessed and beyond grateful!
The house feels like it’s getting smaller every year now with all of our stuff.
We don’t have much for storage and I’m getting tired of seeing all the clutter everywhere. I know I need to declutter too. I’m getting there…
Cory and I decided to change things up and start our DIY renovations one room at a time.
The girls’ bedroom is first on the list.
It was my first time using power tools. Read down below how I conquered my fear.
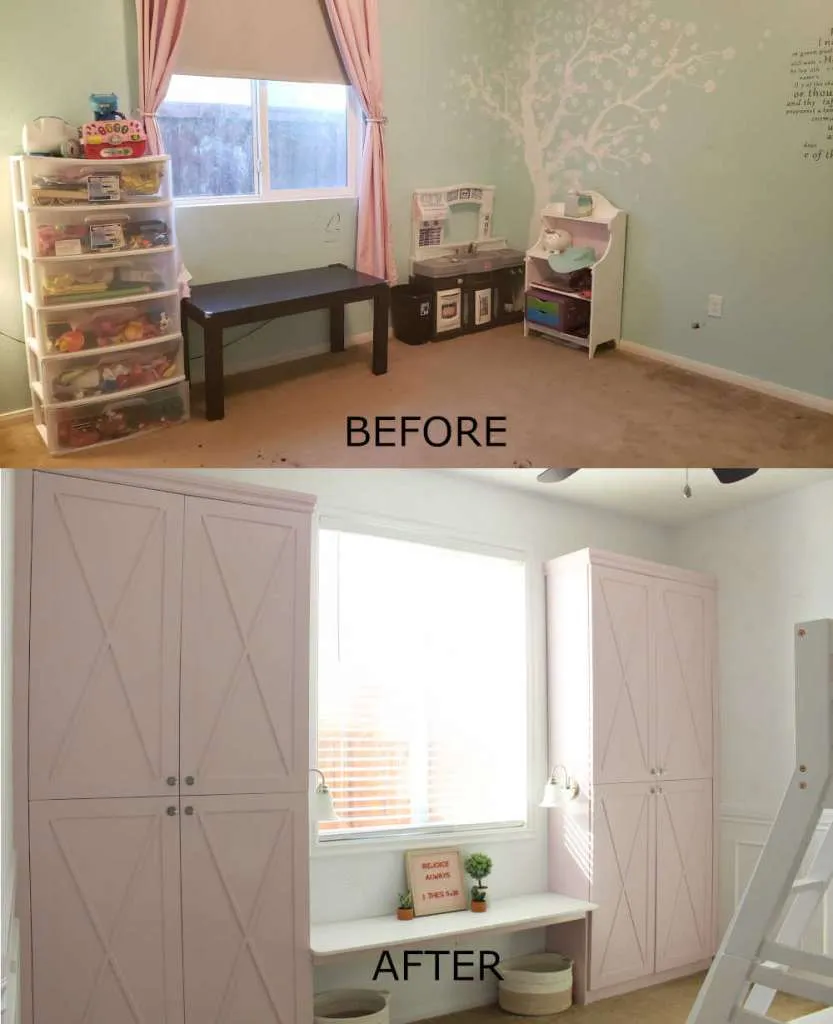
Here are our before and after photos of the bedroom (I’m still working on my photography skills). It’s amazing to see all these transformations coming into place over the last 5 weeks.
There were a few times we didn’t work on it due to the COVID-19 pandemic. I was called to work for more hours at the hospital for a few weeks during the surge. Here’s a glimpse of what we went through in the Laboratory during that time: Battleground Pandemic.
Let’s get started with our DIY Closets with Barn Doors!
Planning is essential! So for me to show my husband my ideas, I decided to draw them out for him like this and find a picture on the Internet (here on Jenna Sue Design – love her DIYs, and very inspiring!) close to what I have in mind to seal the deal ????.
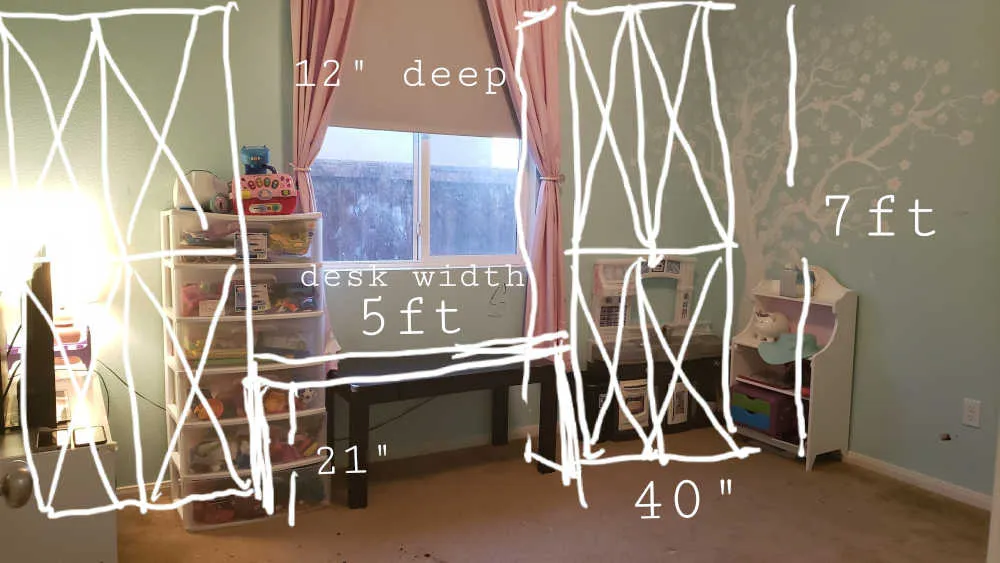
Please excuse my architectural sketch. ????
Now that he saw my plan and pictures from other blogs, he’s onboard and I can see the excitement in his eyes!
Budgeting is the next phase. Further down, you’ll see the cost breakdown for this DIY bookcase project.
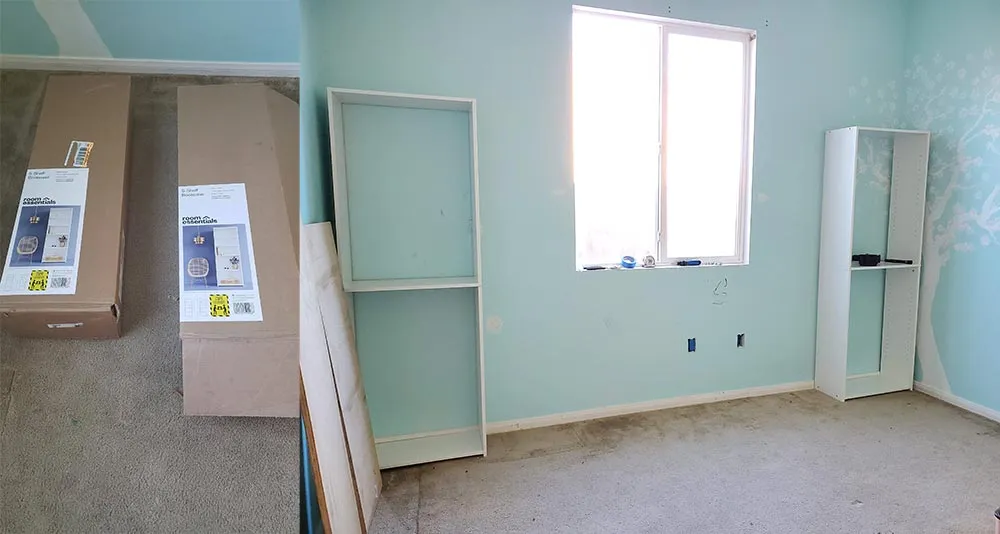
At first, we bought these bookcases from Target which cost $35 each. Thinking it will be better and cheaper to have the bookcase ready and just build the doors and add it later.
However, it wasn’t big enough for what we wanted and also not as durable as we hoped for.
When we assembled these, we realized that it’s not strong enough to add doors. I want to have doors cause I know, over time my girls will not be organized yet. I just want to see a cleaner room clutter-free and having storage with doors will definitely help with that. Doors will hide those clutter if I can’t keep up with their mess which is a lot of times.
So back to the drawing board. We then decided to just build it all from scratch to save some money and customize it the way we want it.
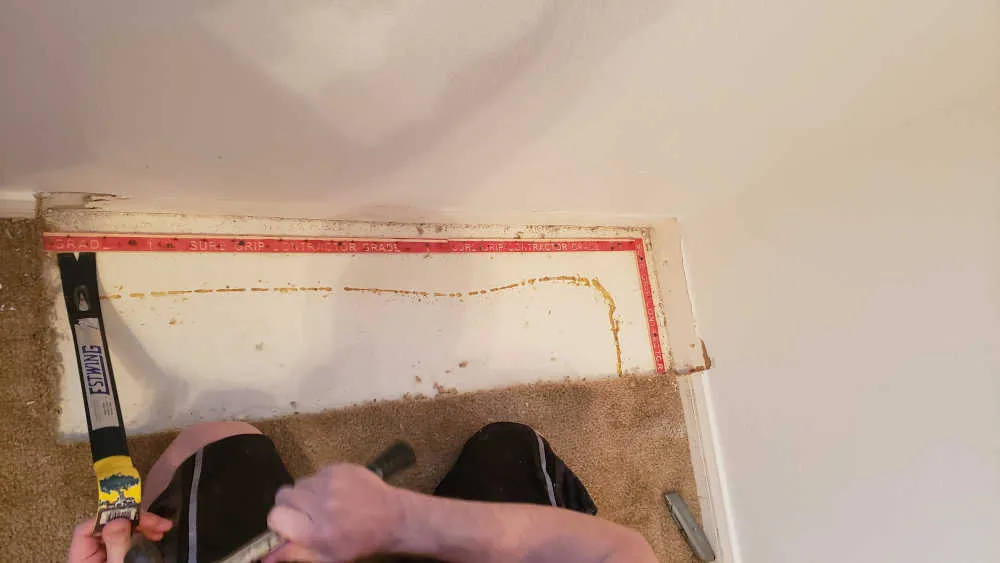
Prep the floor by cutting the carpet and taking the boards and tack. My husband just used a crowbar and a hammer.
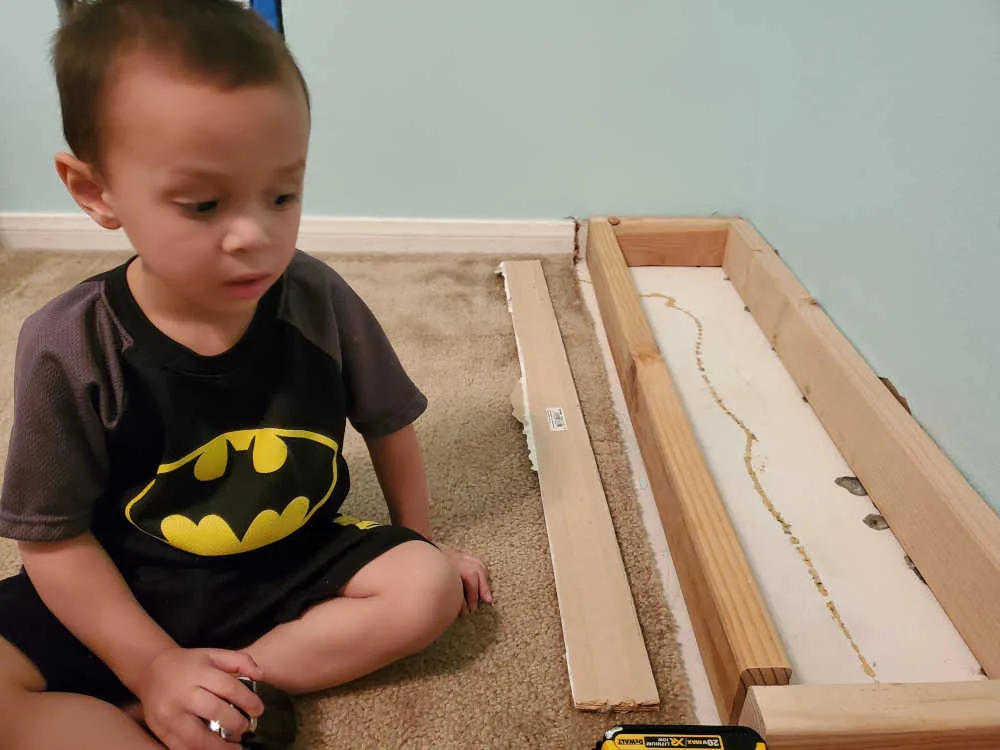
Laid out and drilled 2x4s as the base. Cyrus here wants to help Daddy.
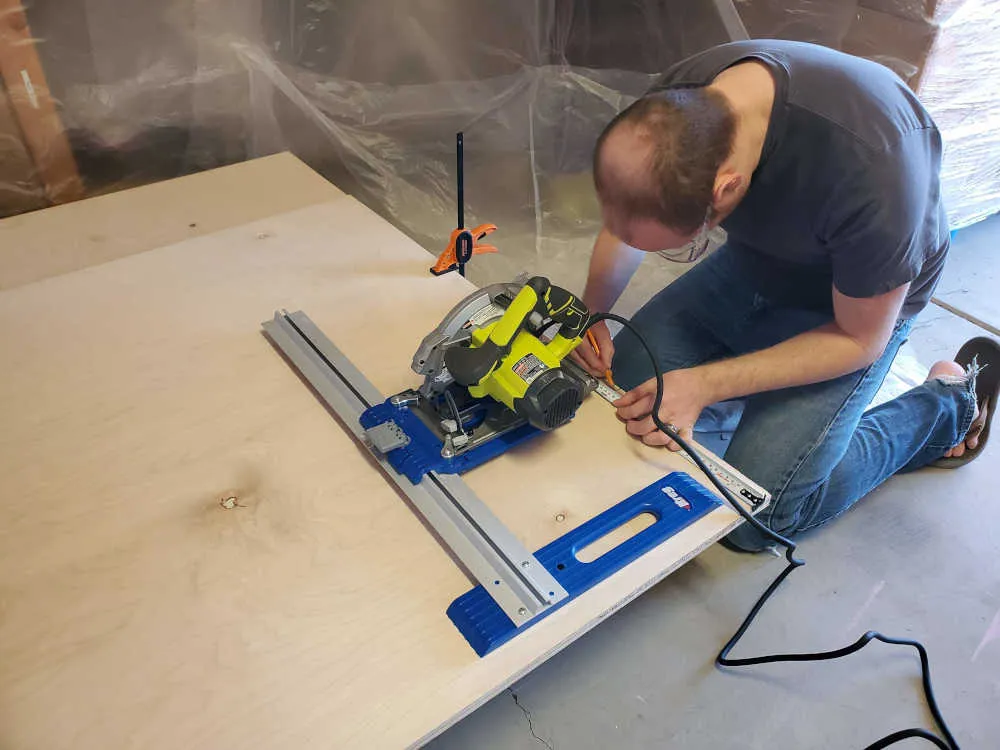
Cut all the boards for the sides and the shelves.

Laid them out and marked them 14″ apart for the shelves.

Cory wanted 3 shelves to be drilled into the studs to secure the bookcase to the wall. In case the kids want to climb on it, (you never know…) then it will be strong enough and won’t fall on them. Just in case…
Notice our stud finder? These are our baby-proofing magnets for cabinet doors. They come really handy! They’re even better than other stud finders that we have.

We used this Kreg pocket hole jig set to drill pocket holes on the shelves. We also added pocket holes in line with the studs on three of the shelves.

Putting the bookcase together, we started on the bottom shelf and work our way up to the last shelf on top.
Then lift these babies up on the wall. Boy! These are so heavy! Whew!

Drilled the bottom, 4th, and 6th shelves on the wall.

Now it’s sturdy and I feel confident this will not fall in case our kids will climb on it.
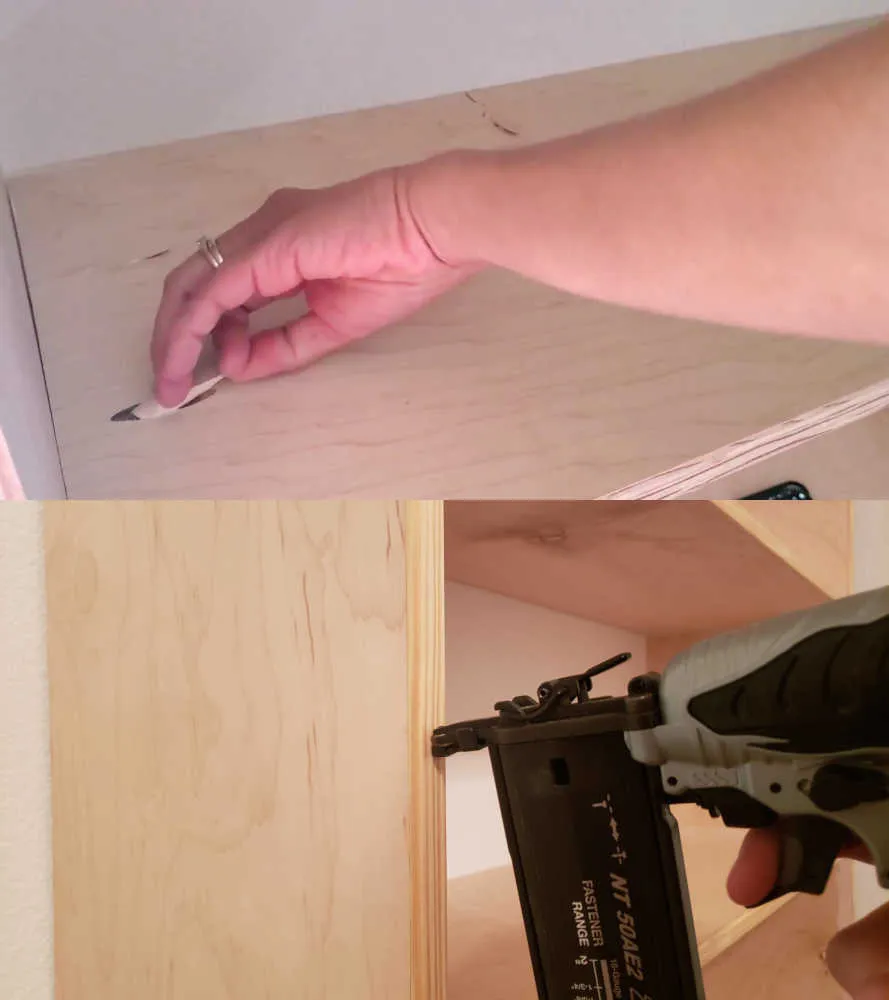
Filled the pockets holes with wood pocket hole plugs. Also added trim on the sides of the boards and shelves for a clean look.
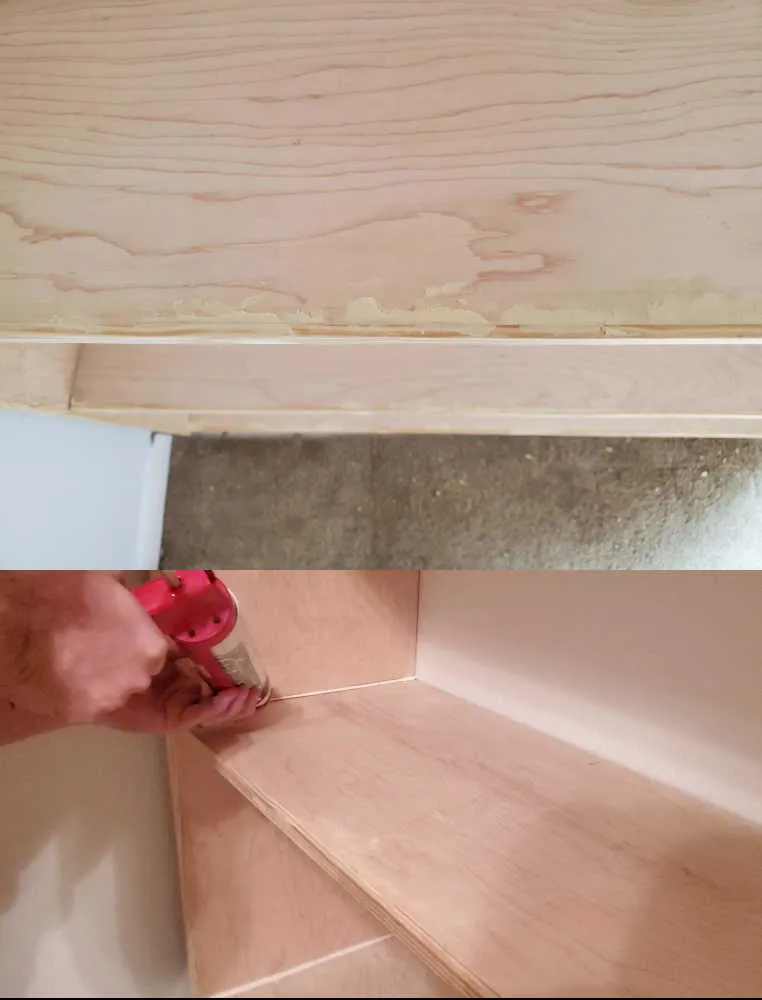
Put wood filler in all the holes and spaces we see and caulk the sides.

So here’s the 2 bookcases! Now, the fun part…Paint!!!Paint!!!
I primed the shelves using Graco TrueCoat 360DS Electric Handheld Airless Paint Sprayer. It’s a lot faster and lesser back and shoulder pains than using brushes and rollers. We wanted this room to get done fast and I still need some energy to do other household chores and take care of our little monkeys. So that’s why we decided to do spray paint.

I asked the girls to pick the color they want for their bookcases. I actually pick them out first and gave them 2 options. Of course, they both said different answers so I was the tiebreaker.
We used Sugarbeet from Sherwin Williams.
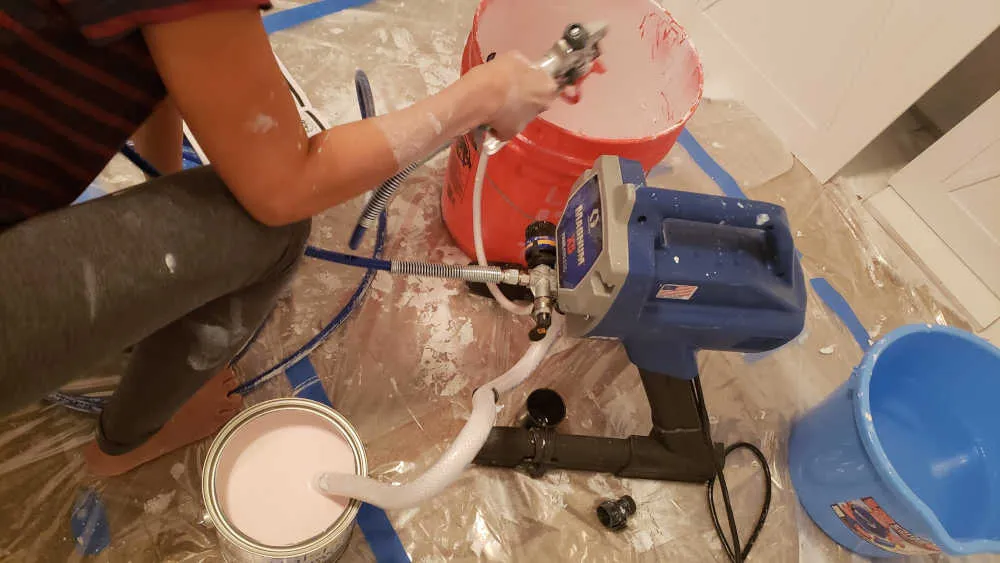
The Graco TrueCoat 360DS model didn’t work anymore in the middle of our paint job so we upgraded to the Graco Magnum X5 and finished all the painting. Since we will be doing more painting in the next few months here, we’re thinking it will be a good investment for us and it will save us a lot of time.
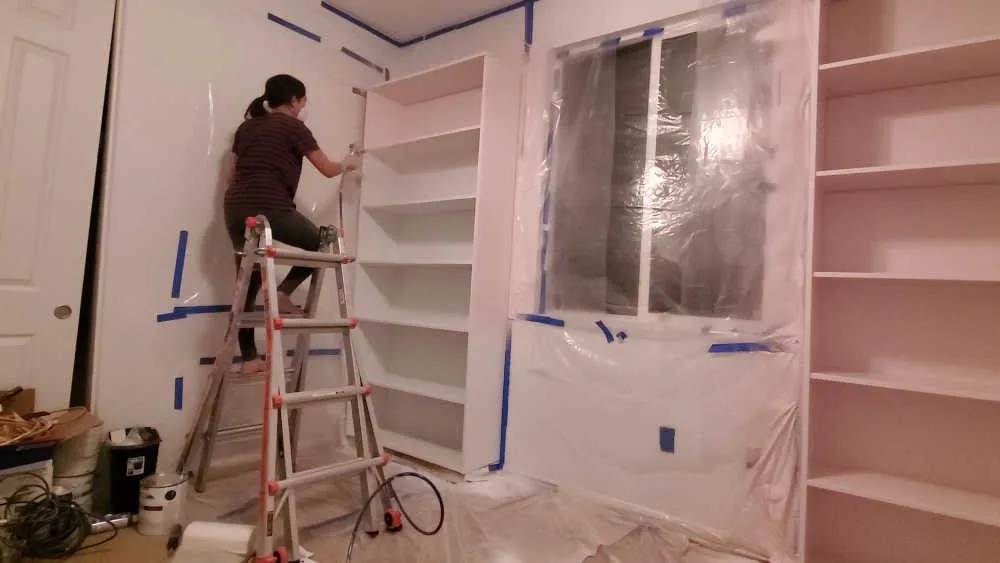
I love this Graco Magnum X5! It’s definitely better than the TrueCoat 360DS model.
It was my first time spraying paint. Got some tips from my husband and learned as I go.
Spray painting these bookcases and 8 doors only took me a few minutes. I don’t think I’m going back to rollers and brushes for bigger projects like these next time.

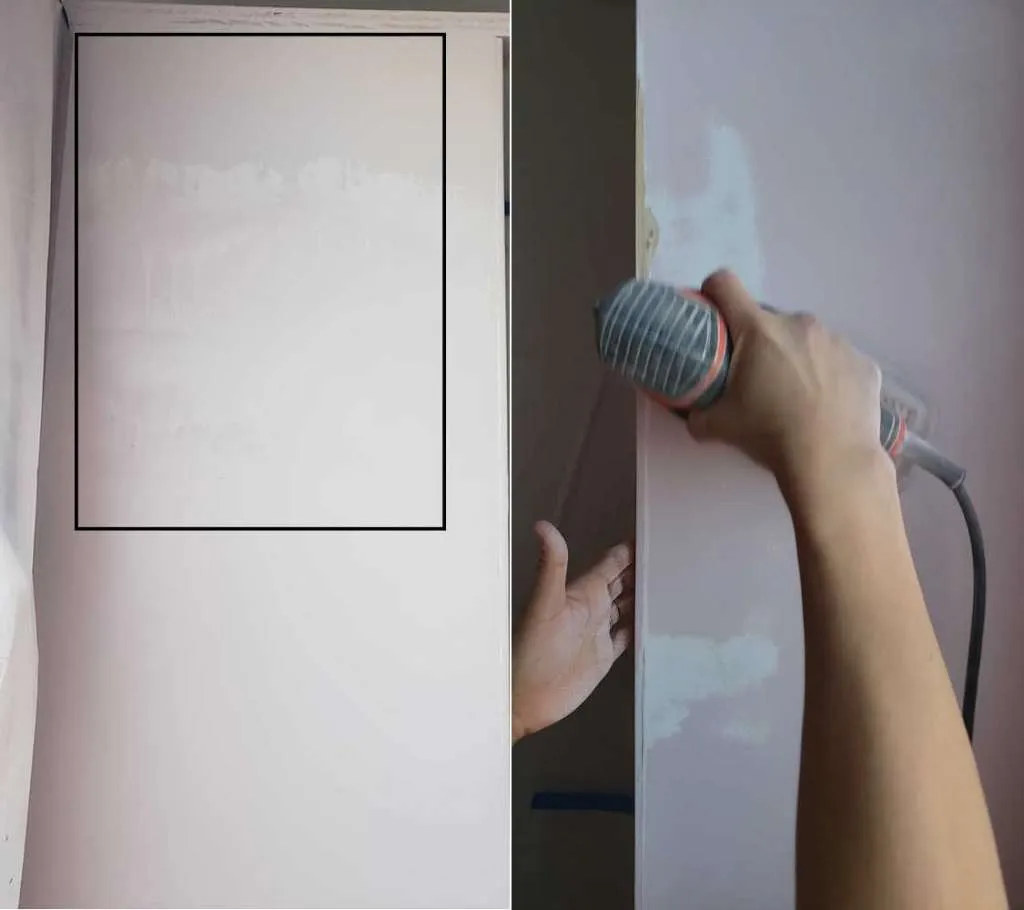
These were the mistakes I saw the next day. My heart was broken… They were too heavy on these areas and I peeled some of them off.
So I sanded and painted it again. I got it fixed! Yay!

Here it is! My first big DIY project – Closets with barn doors! With a lot of help from my supportive hubby. ???? Our labor of LOVE!
I’m still in the process of putting together the blog for making the barn doors, wainscotting, and bench/desk for the girls. I’ll update this post once it’s done.
Here’s the cost breakdown for 2 bookcases with barn doors
- (3) 3/4-in x 4-ft x 8-ft Maple – $59.37
- (2) 2-in x 4-in x 8-ft – $6.12
- (20) 3/4-in x 8-ft Pine Wood Screen Trim –$3.12
- (1) ½” plywood – $35.55
- (12) 1-in x 2-in x 8-ft Square Unfinished Whitewood Board – $3.01
- (14) Polished Silver Roller Cabinet Catch – $0.98
- (2) 10-Pack Full Nickel Plated Self-Closing Concealed Cabinet Hinges – $41.98
- (8) Acrylic knob- $5.98
- (2) 4-in x 12-ft Primed MDF Baseboard molding – $15.10
- Misc. est. – $200
So about $700 total for this project not including the bench/desk and tools. Not too bad of a cost for the size of these which is 7-ft (H) x 40-in (W) x 12-in (D).
I checked to see if I can find a closer dimension to what we have done on the web. None so far and the closest one from Hayneedle that I found without doors is $459 ON SALE per bookcase!!!
Wow! I was surprised how this turned out. We did have a lot of mistakes in the process and learned from it but it was all worth it!
It was my first time using power tools too. I was intimidated at first, but I told myself that I can’t just rely on Cory all the time to get this done. He is working full time in his day job (across the hallway) so it will take more time for this to get done if I’ll keep waiting for him.
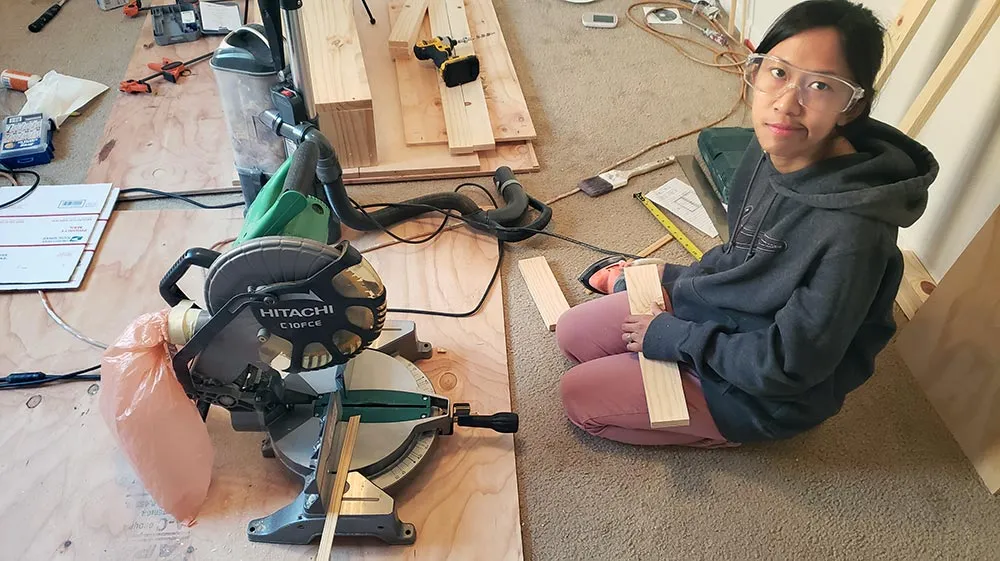
A lot of things popped inside my head when I was staring at the miter saw…will my fingers get cut?…getting ready if that happens…where I put the first aid kit…imagining going to ER…how to use this miter saw in front of me…and a bunch more! All these thoughts were rumbling inside my head and fear struck. Remembering God’s Words, I took a deep breath and talked to Him “Oh Lord my God, stop me if I’m doing foolish things…”
This is how I deal with my problems from tiny issues to big decisions in life now. I call upon the Lord. I still do stupid stuff and still have disobedience and pride in my heart a lot of times, but I’m so happy that my God is full of grace and mercy. I can come to Him in sadness, fear, anger, and in joy, and happiness. And yes, even little things like this…if I’m gonna do it or not. Using power tools for the first time may be easy for some but for this tiny little lady, it’s scary!
I remember in 2 Timothy 1:7 “For God has not given us a spirit of fear but of power, and of love, and of a sound mind.” This gives me courage, comfort, and confidence that I can do this. Gonna conquer my fear!
There is a deeper meaning to this scripture as well that I do not forget. The following verse is 2 Timothy 1:8 ” Therefore do not be ashamed of the testimony of our Lord…” I’m putting both of these verses in my mind in this situation to keep me moving forward. The gifts, skills, and talents He has given me are for Him to be Glorified. There may be opportunities down the road that I don’t know…but He does. So for now, I’ll keep going.
I gathered my courage and strength to pick up the power tools. I also have this in my mind that if I needed help, I’ll just scream “daaaaaaddddyyyyy!” and Cory will come running towards me to save the day (I hope..). ????
Here’s the picture that he took after he heard me with the miter saw for the first time. He went into the room where I was working and took this picture. I remember I was still shivering a little bit after using the miter saw and not happy cause I was not ready to pose for pictures yet.
I also remember that he was proud of me and smiling and well, chuckling after he took this picture.
Here are the rest of the bookcase pictures.
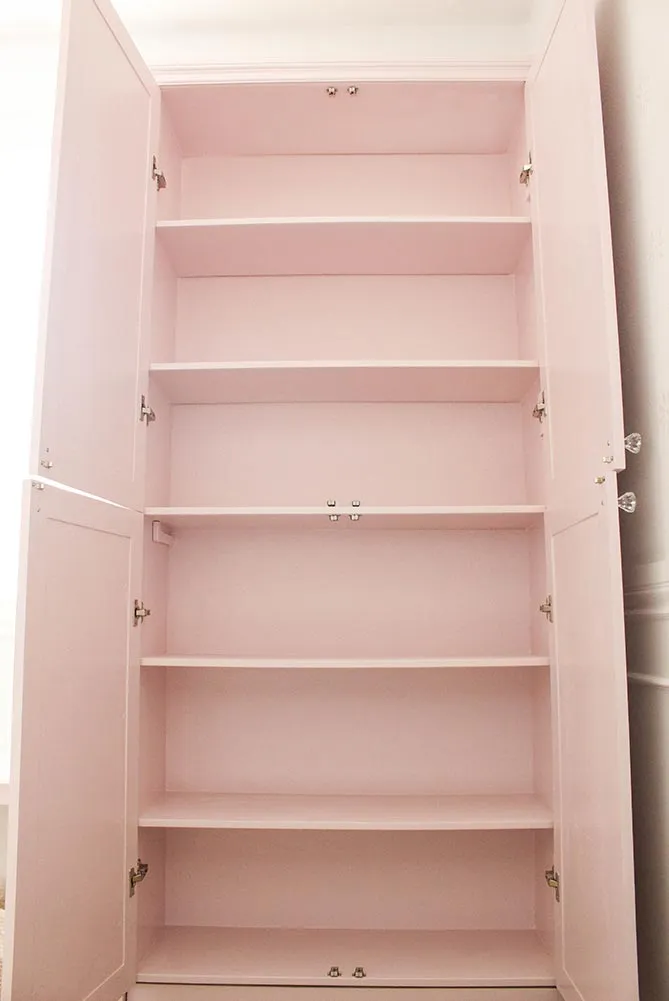

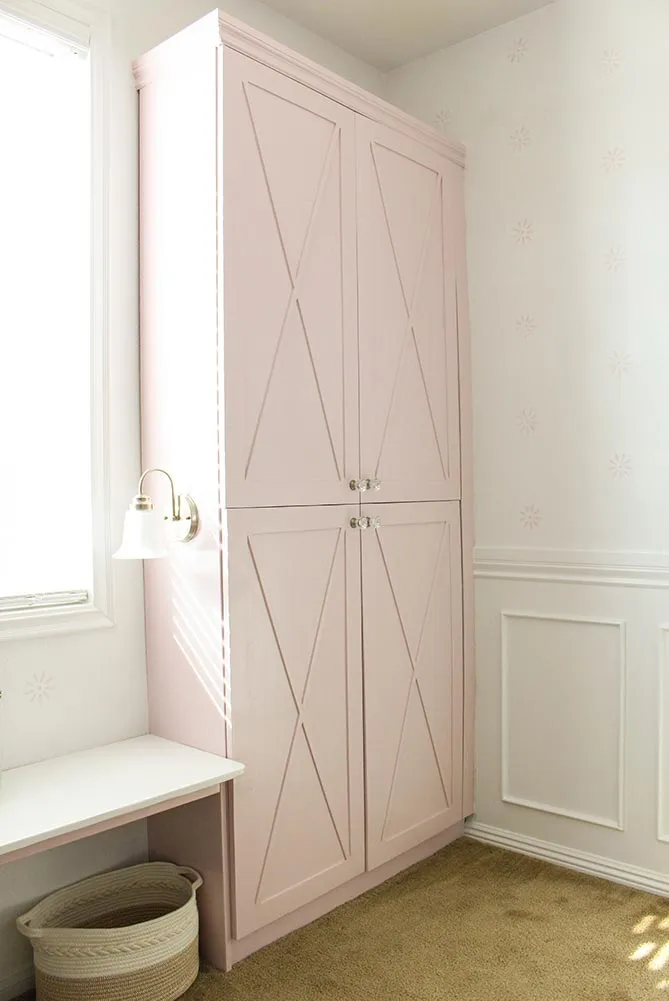
It was so much fun doing these DIY closets with barn doors! I was so excited to get this room done. We surprised our girls and oh boy! They were just screaming from their excitement!
You can follow us along on Instagram @lightnspice. I’ll be posting the videos on how we did this and also when we surprised the girls. Also, check out this blog for 8 DIY Shelves to try at home.
I hope you had fun reading this post and it has also inspired you to do the things that you love to do. We are made in God’s image. We are made to be creative in different and beautiful ways. So, you can do whatever you put your mind to but never forget where your gifts come from. Give our God all the Glory and Praise!!!


